Label Setting
1. Overview
Before starting a task, you need to go to 「Task Settings」 to 「Label Settings」, which will facilitate smooth annotation in the interface.
For the sake of flexibility in configuration, settings should be organized into modules within the task setup. Don't forget to click "Update" to save your settings.
2. Basic Setting
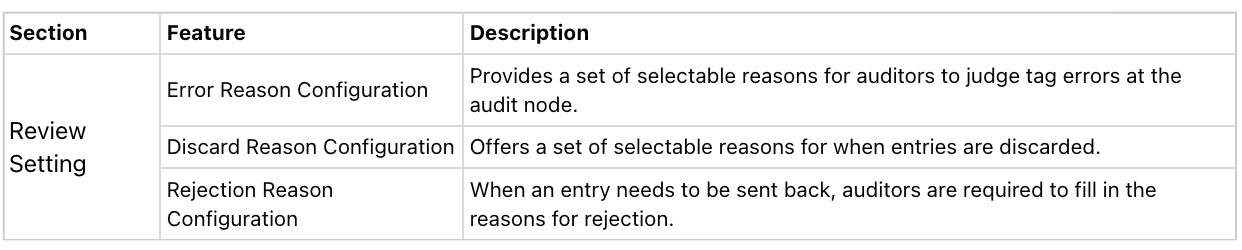
Regarding the settings related to task information and status, entry annotation, and audit rules, there is a detailed description below each setting, allowing users to configure according to their needs.

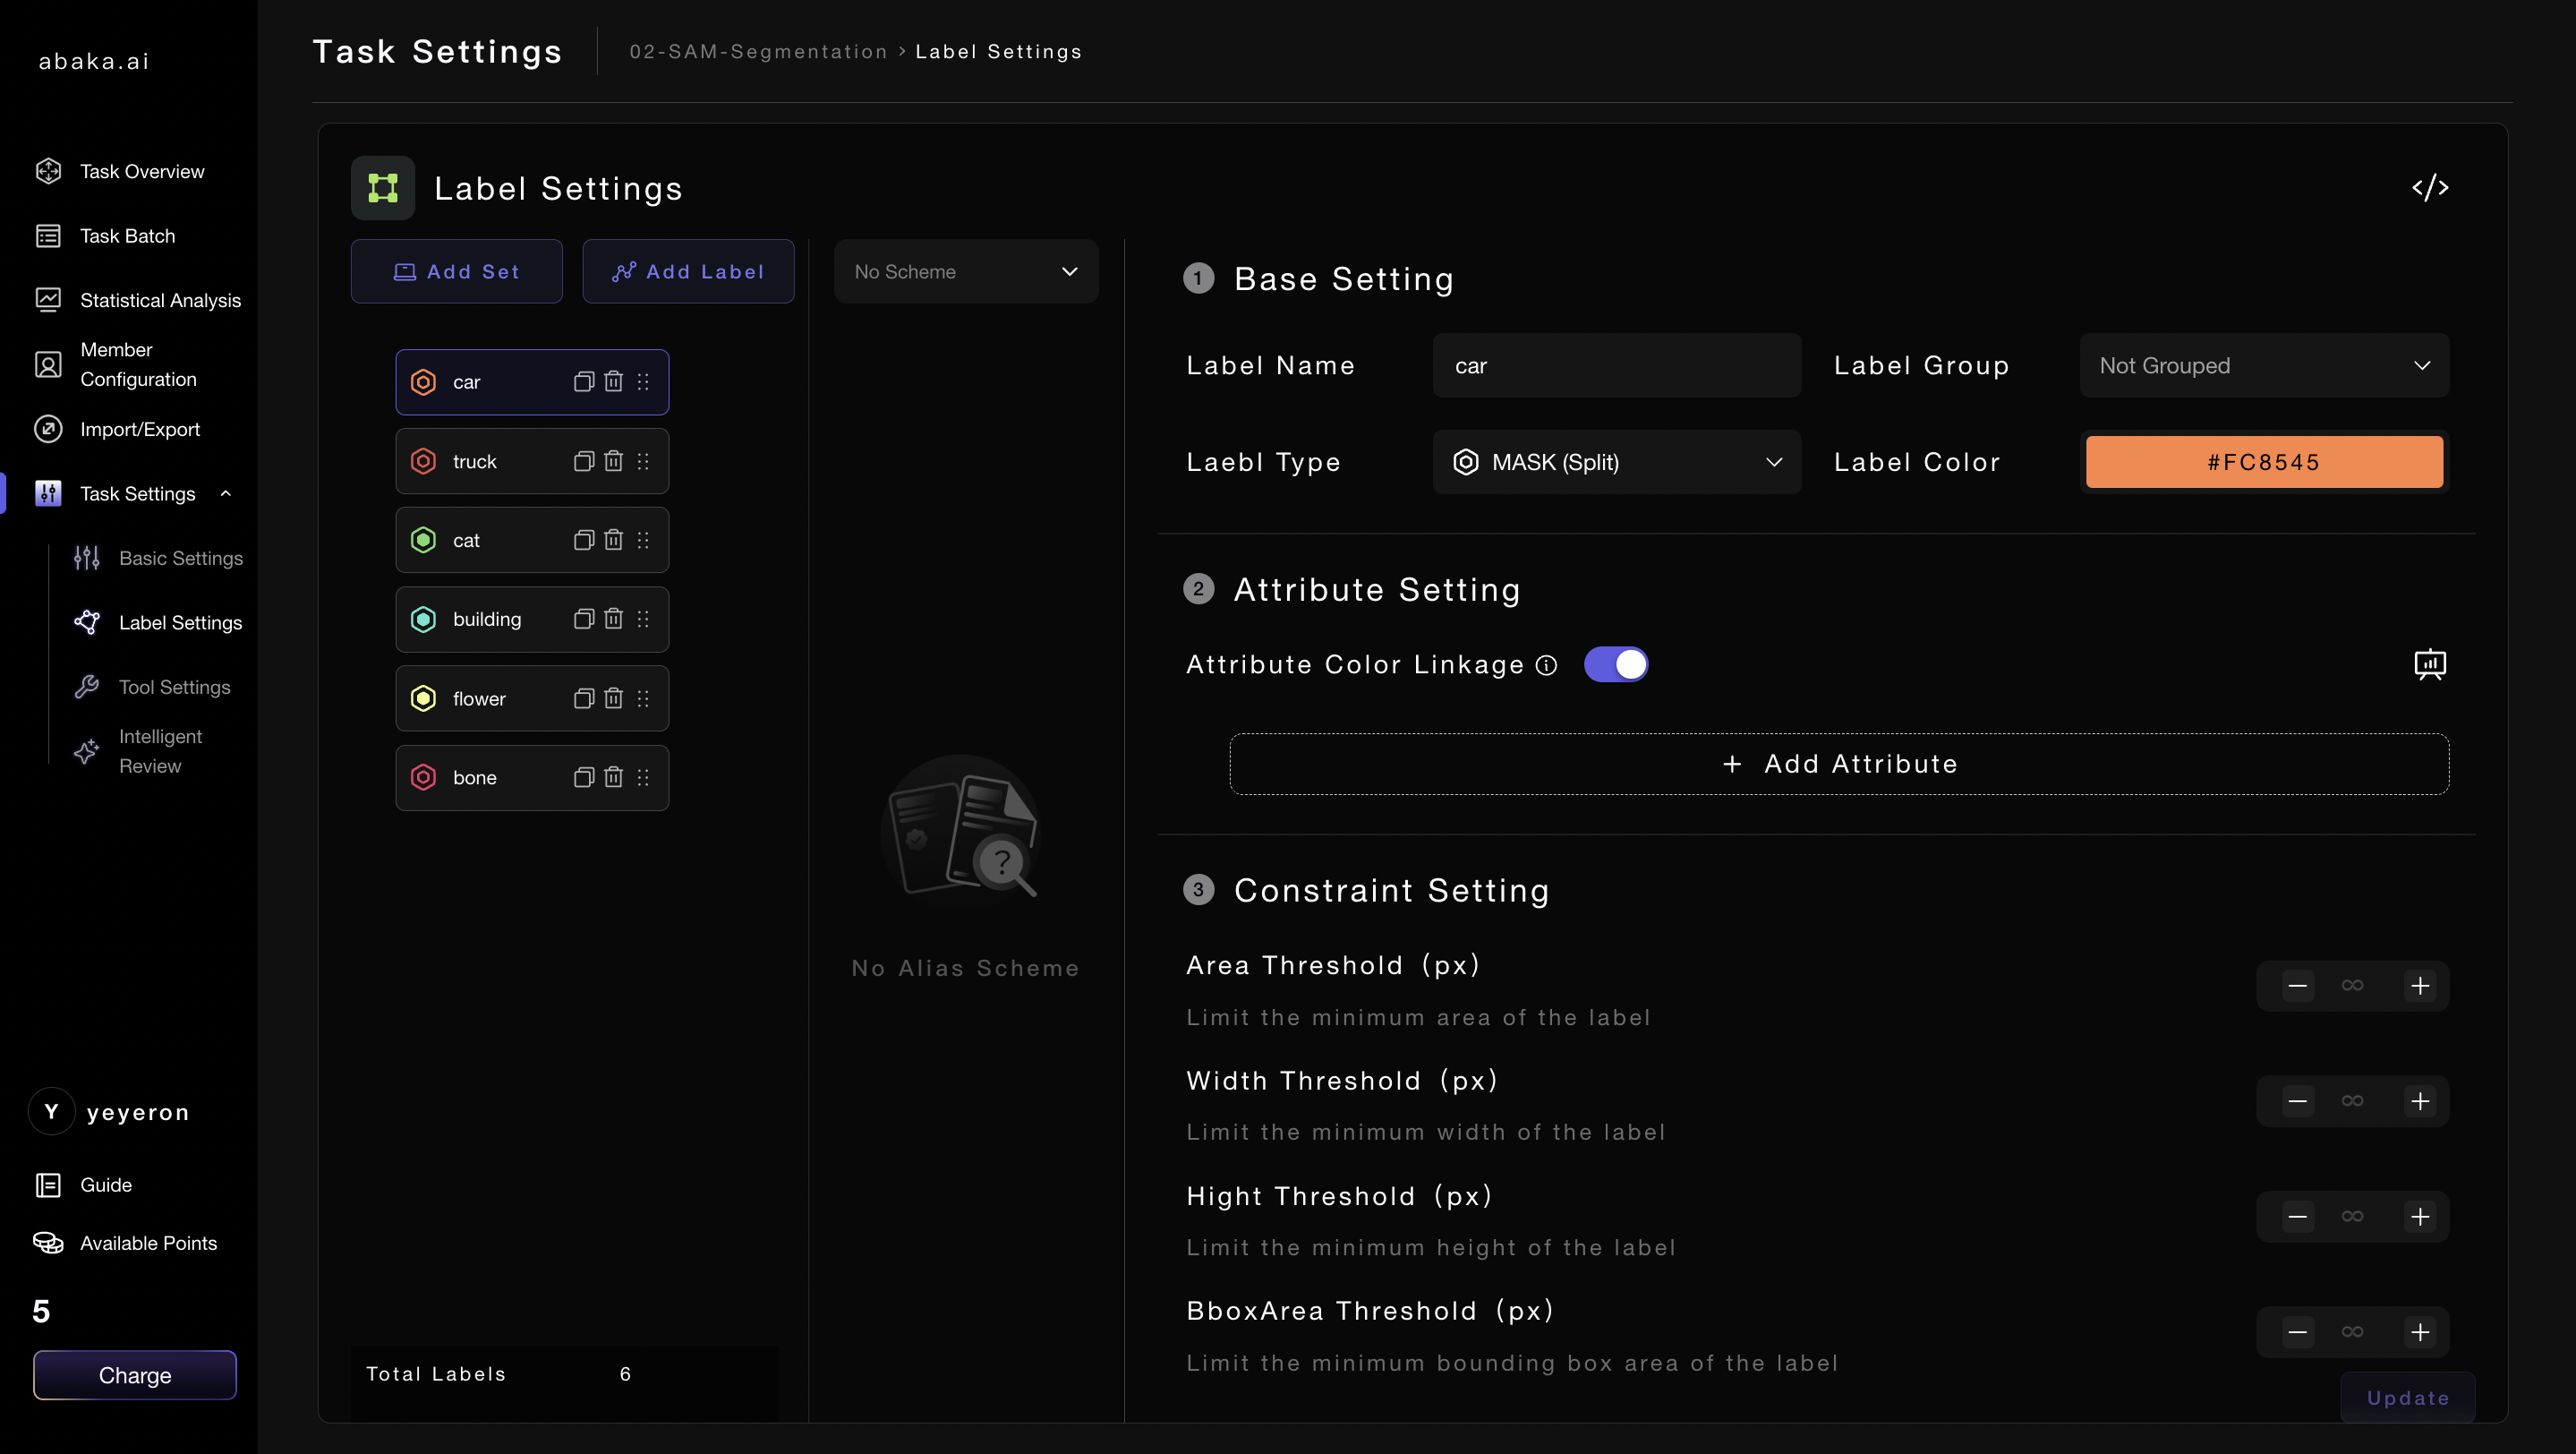
3. Label Setting
Here is the information presented in a step-by-step format:
- Add Set: Increase by adding a set, filling in the base settings.
- Optional: You can create a "Set" and customize the tags it includes according to your needs.
- Confirm: Click to confirm and complete the settings.
In tag settings, you can:
Property Settings:
Per-Frame Properties:
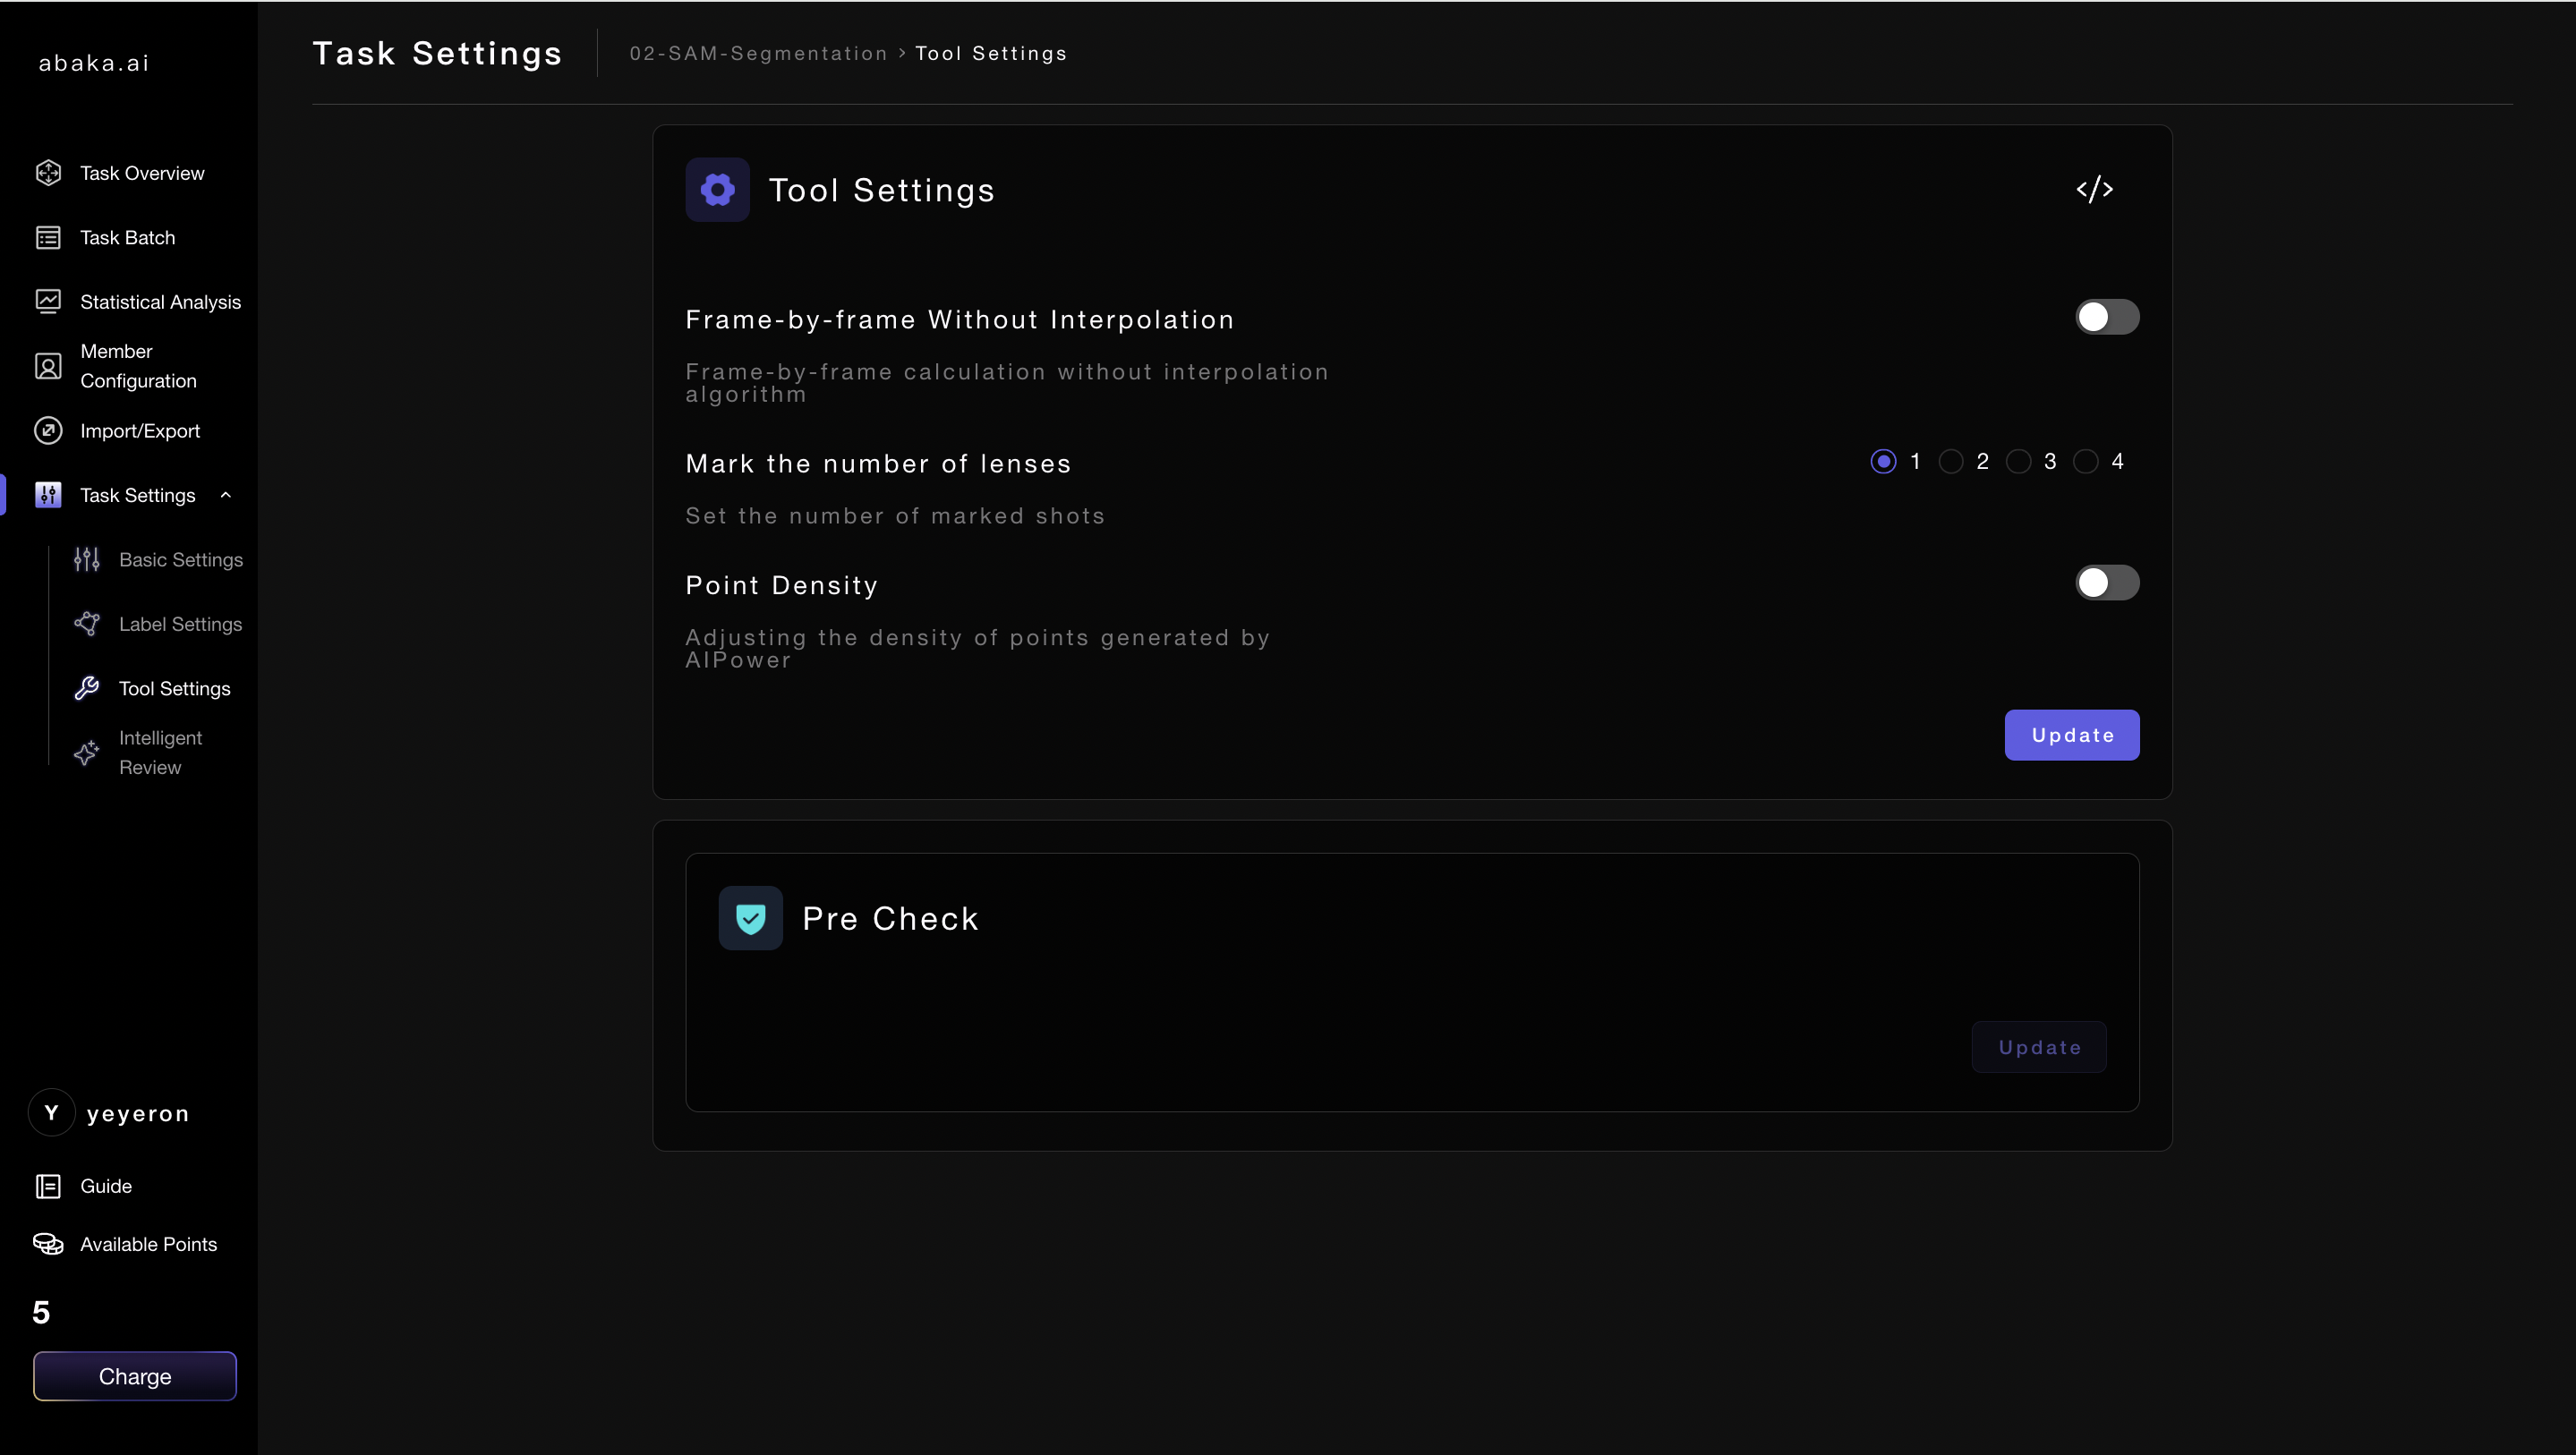
4. Tools Setting
Support for image and point cloud annotation tools, with customizable pre-inspection to improve audit efficiency. In the point cloud annotation tool, the tool settings include:
- Persistent Save of Bounding Box Point Clouds: Mainly used for project export. When the export requires point count information, enable this option.
- Projection Box Type:The projection box is the corresponding projection of the 3D point cloud label onto the 2D image in 23D fusion annotation, including pseudo-3D box, rectangular box, and polygon options.
- Camera Parameter Configuration: To achieve accurate mapping of 3D to 2D images in fusion annotation, correct camera parameters are required. The configuration of camera parameters can be assisted by contacting the relevant staff.
5. Intelligent Tools
Here are the steps for using smart tools in a task:
- Select the Appropriate Model: In the smart tools section, choose the model that corresponds to your annotation needs.
- Enter the Annotation Interface: Proceed to the annotation interface and select the smart tool you've chosen.
- Complete Annotation: Use the selected smart tool to complete the annotation process.